The pieces, bottom to top
Every colour of the model is one print. The houses are not hundreds of loose parts to place one by one: they stand on a sheet of their own colour, joined underneath where nobody sees, and the whole sheet drops into place at once. Each sheet above has a hole for every column of the colours under it, and the sand ground on top has a hole for everything.
- 1White sheet · white filament. Every building, standing on a thin white sheet.
- 2Green sheet · green filament. The parks and the trees, on a sheet with a hole for everything under it.
- 3Blue sheet · light blue filament. The water, on a sheet with a hole for everything under it.
- 4Sand ground · sand filament. The ground and its hills, with a hole for everything else and a channel for the roads.
- 5Road web · white filament. The streets as one white web, bridges on their arches, dropped into its channel in the sand.
- 6Your place · red filament. The house you marked on the model, if you marked one, into its own hole last.
The three sheets go down in whichever order leaves every colour in one piece. Usually that is white, green, blue; a plate whose lakes stand in its parks lays the blue first, and one whose gardens are ringed by houses lays the green under the white. Your files and the guide are numbered in your plate’s order. A plate with no parks or no water has no sheet for them and skips a number, so piece 4 is always the sand. The road web and the buildings’ sheet are both white: print them side by side if they fit on your bed.
A real plate, piece by piece
Central Bergen round Lille Lungegårdsvann, on a 120 mm plate, as the studio builds it: first put together, then each piece on its own, as it comes off the printer, all under one camera. The lake stands in its park, so this plate lays the blue sheet first, under the green, and the lake rises from it through both of the others. The white sheet goes on last of the three, with every house standing on it and a hole for the lake and each park.
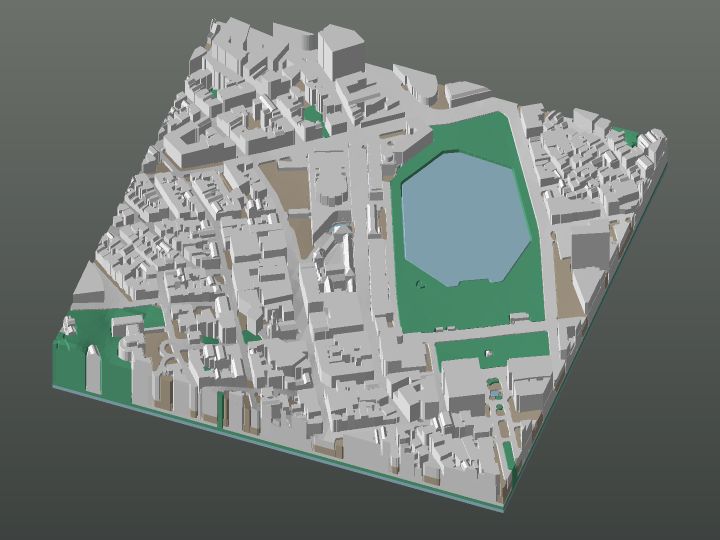 Put together
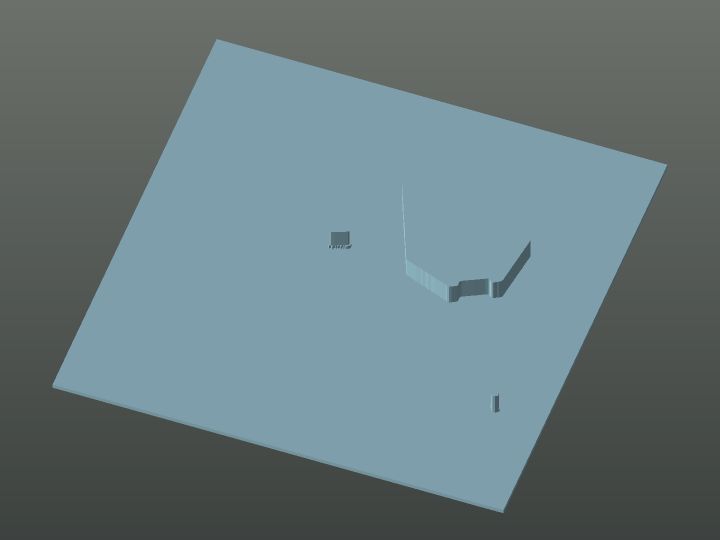 1 Blue sheet
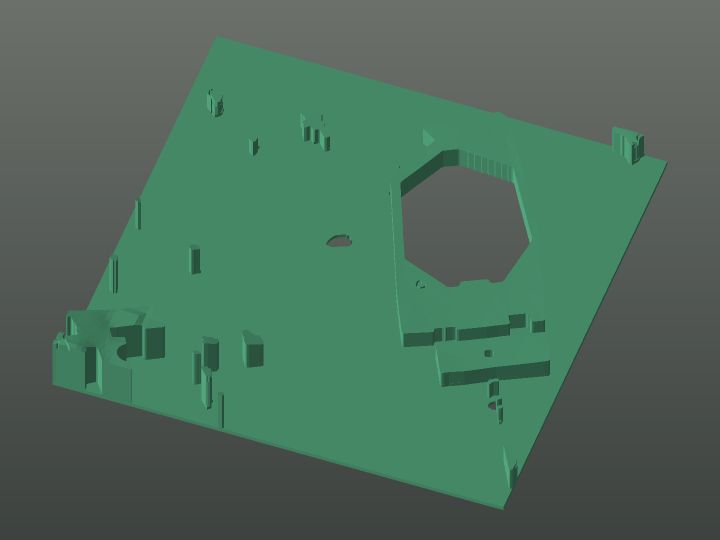 2 Green sheet
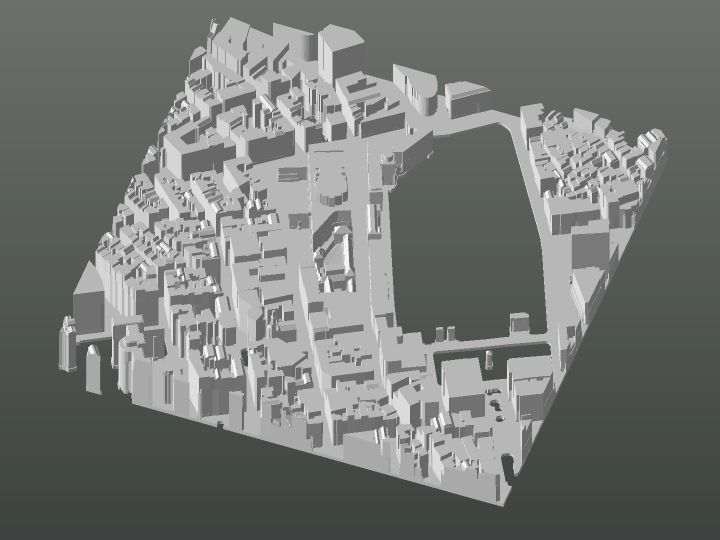 3 White sheet
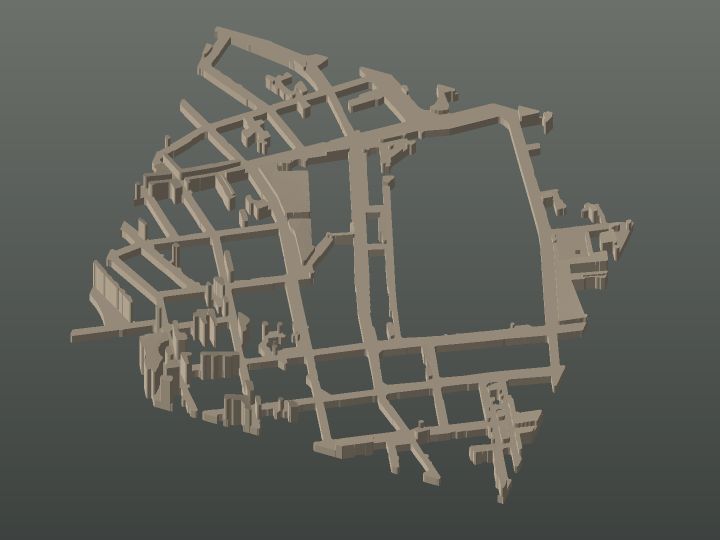 4 Sand ground
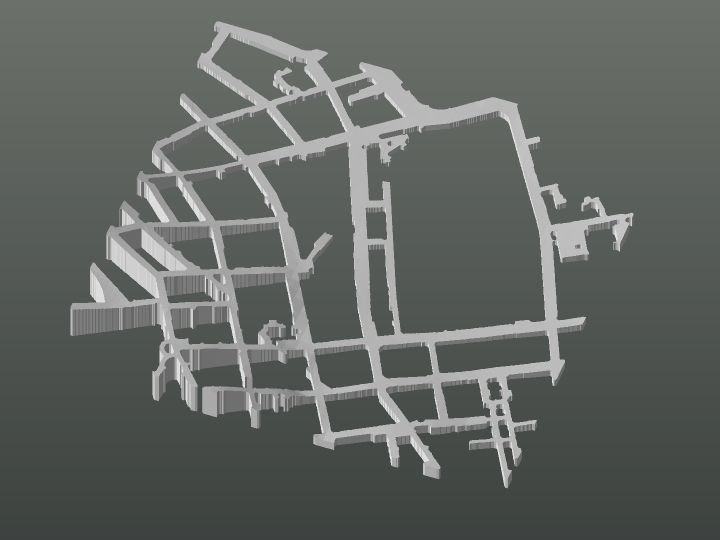 5 Road web
Printing the pieces
- One filament per piece. Print each flat side down, as it lies in the file, with no supports. Load one spool, print the piece, change the spool, print the next.
- One 3MF, a plate per piece. The 3MF is a single project with a plate for each piece, named and numbered in the order they go together and each set to its own filament: open it as a project in Bambu Studio or OrcaSlicer. PrusaSlicer has no plates, so there the pieces arrive as separate objects to print one at a time. The STL and OBJ downloads are a file per piece, numbered the same way.
- Made for a 0.4 mm nozzle. Every sheet is at least 1.2 mm thick, every street and column at least 0.9 mm wide, and nothing is narrower than two lines as a slicer lays them, so each piece comes off the printer whole on its own.
- Hollow where it stands tall. Over a hill the sand and the road web would be solid plastic the height of the hill, so they stand on pillars over chambers whose roofs rise at 50°. That prints without supports, and the print guide says where a plate has them.
Print the fit test first
Every stacked download carries a fit test: a 3 cm block of a city, stacked the same way and cut with the same holes as your model, in about 8 g of any one filament. If every house slides through its hole and every piece lies flat on the one under it, print the model as it is. If it is tight, print the piece with the holes again with your slicer’s X-Y hole compensation at +0.05 mm. Loose is fine: the columns hold the pieces square, and gravity holds them down.
How a column meets its hole
- A 0.2 mm fit all round, only in the sand’s top 1.2 mm: the part anyone sees from above.
- Under that, every hole is 0.4 mm wider, so a column slides rather than fits.
- Wider again at the very bottom edge, where the bed squashes the first layer, so each column finds its hole before it has to fit it.
- Each column grows thicker where it leaves its sheet, so it does not snap off there.
To put it together, lay piece 1 flat on the table and lower each next piece straight down onto the last, edges lined up, then press gently across the plate until it lies flat. Each column fits exactly one hole and the road web fits only its channel, so nothing can go in the wrong place. In the studio, a slider up the right edge of the model pulls the pieces apart and puts them back, in the order they go together.
What a stack gives up
From above, a stack’s buildings are exactly the multi-colour model’s, and most of the plate matches it in colour and height. A few things cannot be reached by a piece without it coming loose, so they print a little differently, and the print guide for your model counts the trees left out and the roads cut off from the web.
- Small courtyards print white. Ground closed in by a ring of houses would be a loose piece of sand, so it is filled with the houses’ white and a European block reads as one white slab.
- Trees leaning over another colour are left out, which thins the edge of a wood.
- A street the houses cut off from the road web stays as raised sand, and an alley too narrow to print between two houses prints white, with them.
- Under a bridge the ground runs across at the water’s level instead of the river running through. The deck and its arches are kept, and from above the deck covers it.
- The model stands a little taller, on its sheets, than the multi-colour one.
Why it says beta
The pieces are planned so that each clears the one under it when lowered straight down and each prints on its own, and both are tested piece against piece before any change to the planner ships. What software cannot measure is how a 0.2 mm fit feels across a whole plate of columns on your printer, which is what the fit test is for. A stack cannot be combined with a wall frame yet, since the frame’s channel is cut into a base the stack replaces with sheets, and the plates of a grid each print as their own stack, butted together as usual.